
Last updated September 24, 2026
Free in-home measure and quote - PGT, CGI and CWS impact lines compared on your actual openings, style by style
 Before
 After
After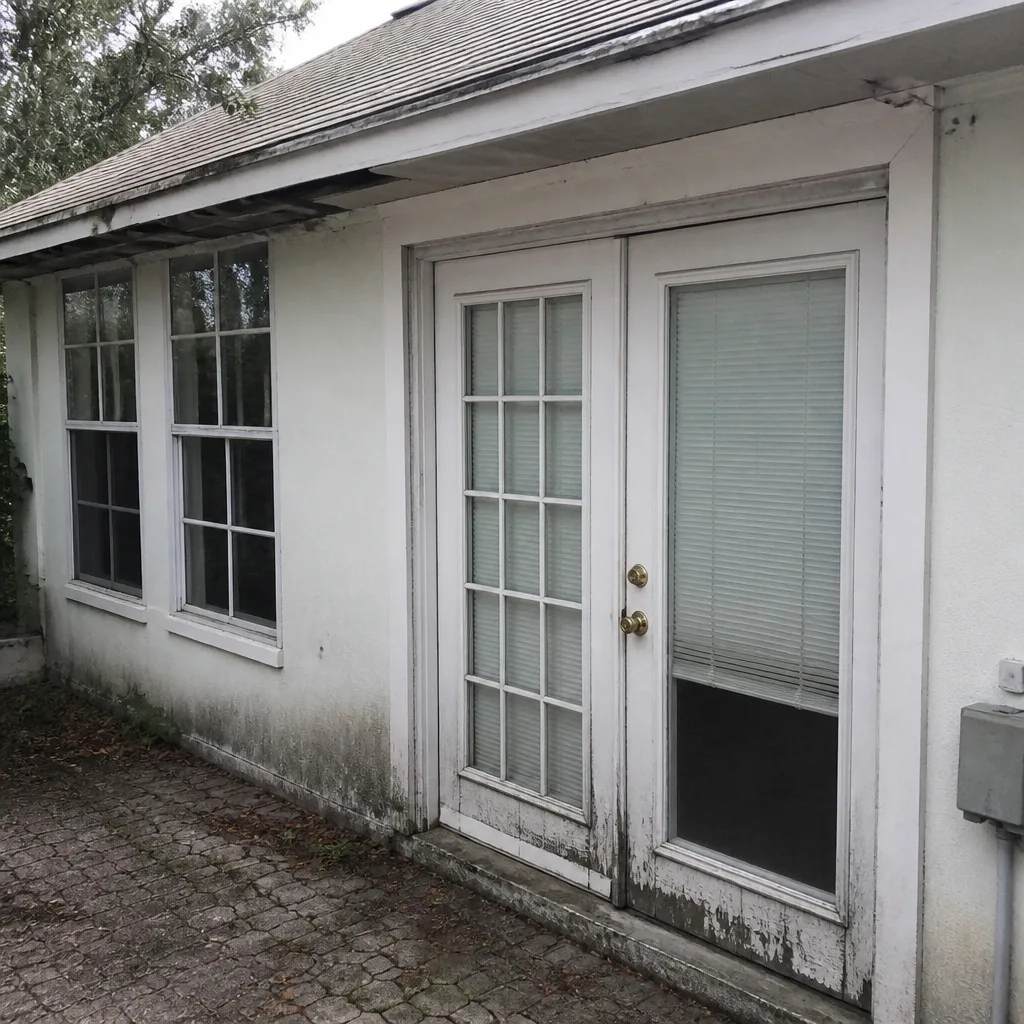 Before
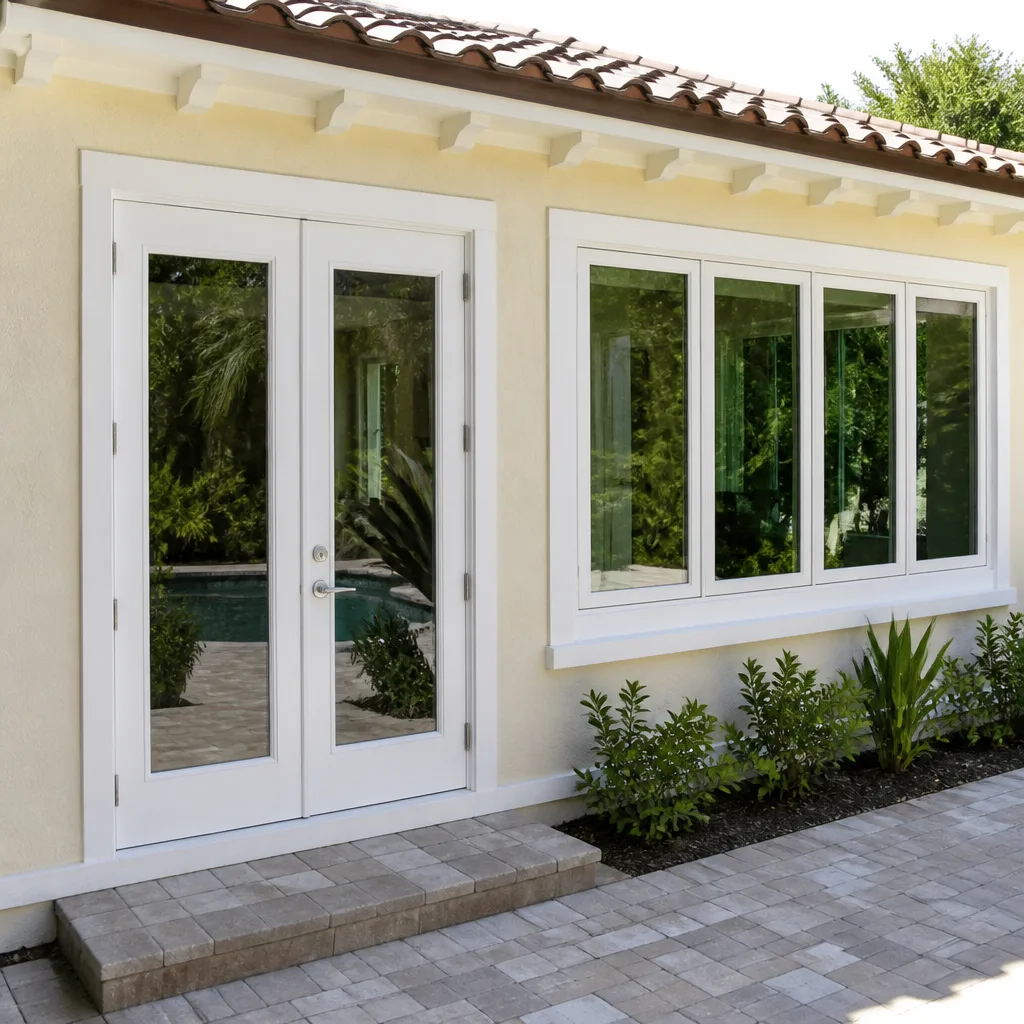 After
After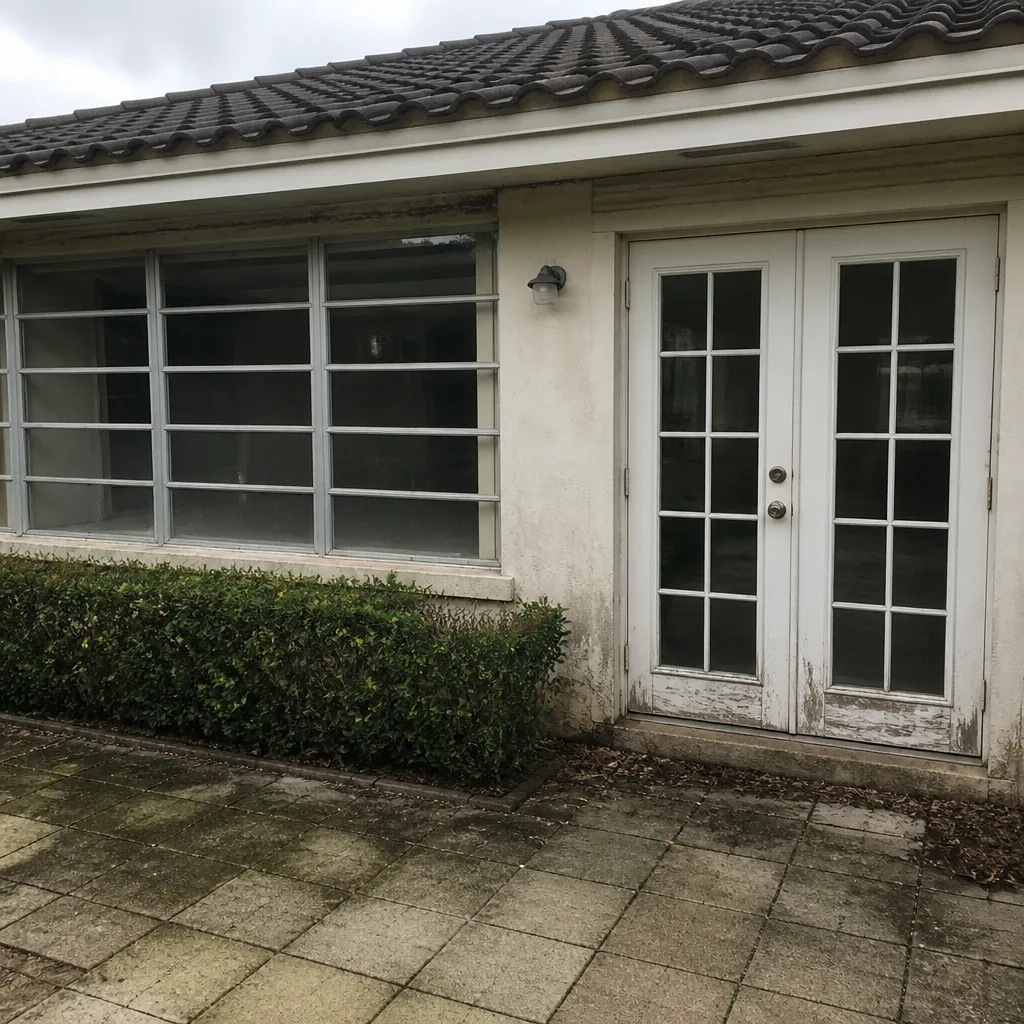 Before
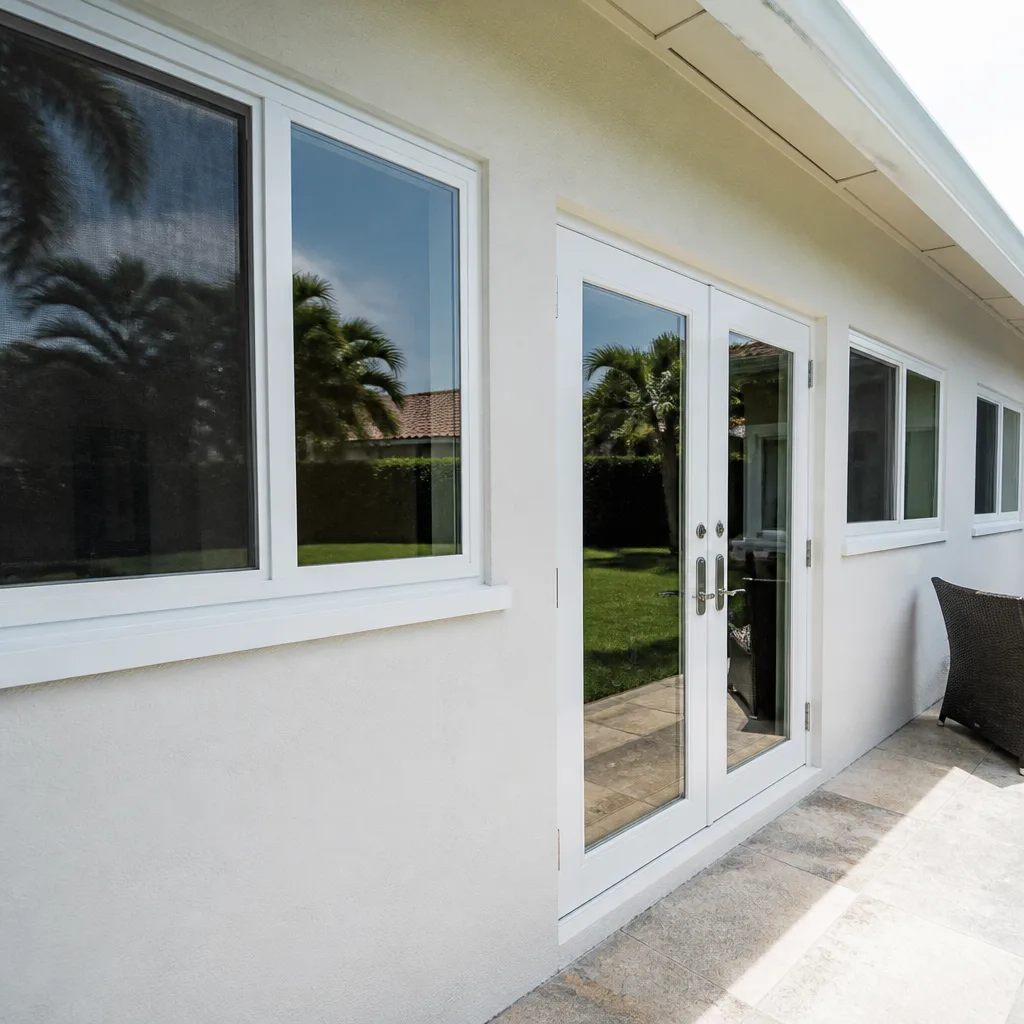 After
AfterWindows & Doors Warning Signs: A Lantana Homeowner’s Reference Guide
Condensation between two glass panes means the argon or krypton gas seal has already been breached - typically 18 to 36 months after the initial seal failure began. The insulating R-value the window was sold for has been compromised for years before the fogging became visible. In Lantana, where coastal humidity and salt air accelerate seal degradation, that invisible timeline matters. This guide - along with our Complete Guide to Windows & Doors in Lantana - works backward from the failures homeowners can see to the early-stage indicators most miss, giving you a diagnostic reference that identifies problems before they reach the replacement-or-major-repair threshold. You’ll learn five pre-failure warning signs, how to distinguish product defects from installation errors, and how to document what you find in a format that supports warranty or insurance claims.
Quick Answer
The earliest warning signs of failing windows and doors in Lantana homes include hairline sealant separation at frame edges, gradually increasing hardware resistance, paint cracks that follow the frame-to-wall joint pattern, visible daylight at thresholds, and condensation that migrates across the glass rather than appearing randomly. These indicators typically appear 12 to 36 months before visible fogging, air infiltration, or operational failure. Distinguishing between a failed glass unit seal (manufacturer warranty) and a failed installation flashing seal (installer workmanship claim) determines who pays for the remedy and whether the fix requires glass replacement or full frame reinstallation - a decision covered in depth in our DIY vs Professional Windows & Doors guide for Lantana homeowners.
Table of Contents
- Five Early-Stage Indicators That Precede Visible Failure
- Glass Unit Seal Failure vs. Installation Flashing Seal Failure
- Door Warning Signs Unique to Lantana’s Coastal Humidity
- What the Dollar Bill Test Actually Measures (and What It Doesn’t)
- How to Document Warning Signs for Warranty or Insurance Claims
- When Warning Signs Cross Into Replacement Territory
- Common Mistakes to Avoid
- When to Call a Professional
- Frequently Asked Questions
BeforeAfterFive Early-Stage Indicators That Precede Visible Failure
Most Lantana homeowners we meet at Sightline Windows & Doors Lantana home first call us after the fog appears or the door won’t latch. By then, the underlying failure has been active for one to three years. These five indicators appear earlier and are measurable with tools most homeowners already own.
1. Hairline Sealant Separation at Frame Edges
Examine the perimeter sealant - typically silicone or polyurethane - where the window frame meets the exterior wall. A hairline crack or partial separation, often starting at the lower corners where water pools, indicates the sealant has lost adhesion or elasticity. In Lantana’s climate, UV exposure combined with daily humidity cycling causes this degradation faster than inland Florida markets. The separation may be only 1/16 inch wide and run two to three inches. It is not yet leaking visibly, but it has breached the primary water barrier.
What to check: Run a fingernail or thin putty knife along the sealant bead. If it lifts easily or crumbles, the sealant has failed. Note the location with a photo that includes the house number or a fixed landmark for reference.
2. Hardware Resistance Increase
A window crank, sash lock, or door latch that requires incrementally more force over six to twelve months signals frame distortion. The cause may be settling, thermal expansion cycling, or moisture absorption in wood components. Track the resistance subjectively - “smooth,” “slight drag,” “requires two hands,” “will not engage without lifting the sash” - and note the date. This progression pattern helps distinguish normal wear from accelerating failure.
3. Frame-to-Wall Paint Crack Pattern
Interior paint cracks at the window or door frame edge follow predictable patterns. A straight, continuous crack running parallel to the frame indicates differential movement between the frame and wall - often from thermal expansion or structural settling. A branching, irregular crack pattern suggests moisture migration behind the finish. In Lantana’s older homes near the Intracoastal, we see this frequently where original aluminum windows were retrofit with vinyl or fiberglass units without proper substrate preparation.
4. Threshold Daylight Gap
Close the door on a bright day and kneel to examine the threshold from inside. Any visible daylight indicates a gap exceeding 1/8 inch in most code-compliant installations. Check at multiple points - center, hinge side, latch side - because door sagging often creates an uneven gap. A consistent gap across the width suggests threshold settlement or subsill decay. An uneven gap points to hinge-side frame loosening or latch-side frame spread.
5. Condensation Migration Path
Condensation that appears, disappears, and reappears in the same location - typically lower corners or along the spacer bar edge - indicates a developing seal breach rather than random humidity response. Track the pattern: date, outdoor temperature, indoor humidity, and exact glass location. A migrating path that grows season by season predicts visible fogging 12 to 24 months before it appears.
Glass Unit Seal Failure vs. Installation Flashing Seal Failure
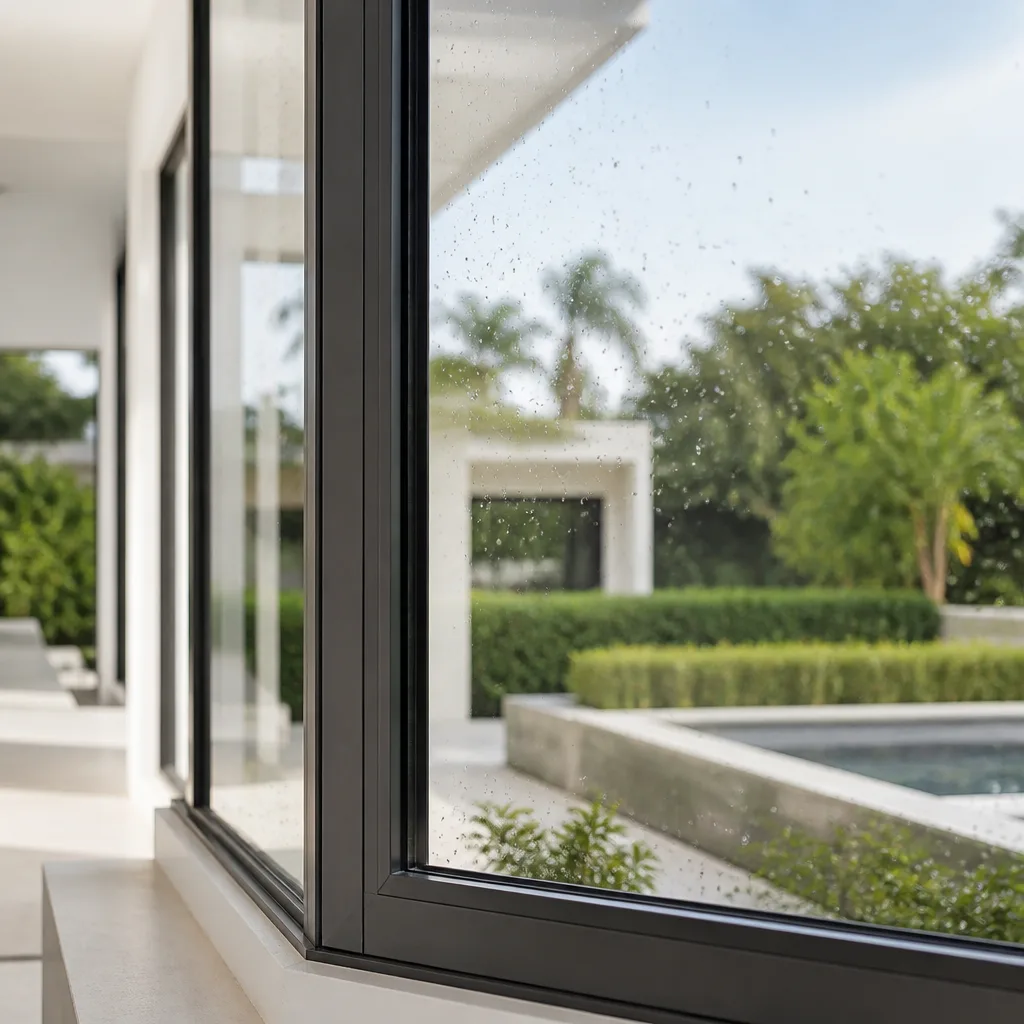
The remedy for a fogged window depends entirely on which seal failed. The distinction determines whether you file a product warranty claim, an installer workmanship claim, or pay out of pocket. These failures present similarly but originate in different components and require different fixes.
| Characteristic | Glass Unit Seal Failure | Installation Flashing Seal Failure |
|---|---|---|
| Visible symptom | Fogging between panes, permanent haze, mineral deposits on interior glass surfaces | Water stains on interior drywall or sill, exterior frame discoloration, visible gaps at frame perimeter |
| Moisture location | Trapped between IG (insulated glass) panes, cannot be wiped clean | Exterior to interior migration, often visible as streaking on frame or wall |
| Cause | Primary seal (polyisobutylene) or secondary seal (silicone/sulfide) degradation at glass edge | Improper or missing flashing tape, sealant gap, or drainage path blockage at installation |
| Responsible party | Glass unit manufacturer or fabricator | Original installer or subsequent contractor who disturbed the seal |
| Typical remedy | IG unit replacement (glass only, frame retained) | Frame removal, substrate repair, reinstallation with proper flashing integration |
| Documentation needed | Glass unit label (etched in spacer bar or corner stamp), installation date, product line | Installation contract, permit records, photos of water damage progression, moisture meter readings |
In Lantana, where impact-rated windows are common for wind-borne debris protection, the distinction carries additional weight. Impact glass units from manufacturers like CWS or ES Windows carry product warranties of 10 to 20 years, but those warranties cover the glass unit only. If the flashing seal fails and water damages the impact laminate or the frame substrate, the manufacturer warranty does not apply. We have reviewed competitor estimates where an IG unit replacement was quoted for what was clearly an installation flashing failure - a $400 fix proposed for a $2,400 problem that would recur.
Haven Clause 1 - Have it in writing - applies here. The measured survey we provide before any Window Installation in Lantana documents the existing condition, including which seal type is intact and which has failed. The written scope specifies whether we are replacing glass, replacing the unit, or reinstalling with corrected flashing. The quote and the invoice match that document exactly.
Door Warning Signs Unique to Lantana’s Coastal Humidity
Lantana’s location on the Lake Worth Lagoon, with average relative humidity exceeding 74% year-round and salt air exposure from the Atlantic two miles east, creates door-specific failure modes that inland Florida homeowners rarely see. Two symptoms in particular - latch misalignment and frame swelling - require careful diagnosis because they indicate different problems with different costs.
Latch Misalignment Caused by Frame Swelling
When a door that latched cleanly six months ago now requires shoulder pressure or lift to engage, the cause may be frame swelling from moisture absorption in wood or wood-composite frames. In Lantana’s climate, this is common on east-facing doors that receive morning sun followed by afternoon shade - thermal cycling drives moisture into the frame material, and the salt air accelerates the dimensional change. The strike plate may show fresh wear marks where the latch now scrapes. The gap between frame and door leaf may be visibly narrower at the latch side than at the hinge side.
Check the frame material: solid wood swells across the grain; composite materials swell more uniformly but often irreversibly. Measure the gap at three points - top, middle, bottom - with a feeler gauge or folded business card. A gap that has narrowed 1/16 inch or more at any point indicates active swelling, not hinge wear.
Frame Swelling Caused by Water Infiltration Behind Brick Mold
The same symptom - latch misalignment - can indicate water infiltration behind the exterior brick mold or casing, causing the frame substrate to swell from the inside out. This failure is more serious because it indicates rot or delamination in the structural frame components. Distinguishing the two requires exterior examination.
Remove a small section of exterior sealant at the brick mold edge, or probe with an awl in an inconspicuous corner. Soft, punky wood or visible water staining behind the brick mold confirms infiltration. The door may also show exterior paint bubbling or peeling in a vertical pattern from the threshold upward - water follows gravity, and the pattern traces its path.
In Lantana’s coastal environment, we see this frequently where original builder-grade doors were installed with face-sealed systems (relying on exterior caulk only) rather than drained systems with integrated sill pans and end dams. The Door Installation in Lantana we perform under the Haven Standard specifies drained sill systems for all exterior doors, with documented photo evidence of the pan installation before the door is set.
What the Dollar Bill Test Actually Measures (and What It Doesn’t)

The dollar bill test - closing a door on a bill and pulling to feel resistance - is widely recommended as a seal check. It measures one thing accurately and fails to measure several others that matter more in Lantana’s climate.
What the Test Measures
A dollar bill is approximately 0.0043 inch thick. If the door seal compresses the bill with noticeable drag, the weatherstrip is applying some contact pressure at that point. The test is binary at each location: contact or no contact. It works best as a mapping tool - slide the bill around the perimeter and mark locations where resistance disappears, indicating seal gaps.
What the Test Does Not Measure
- Seal pressure consistency: A worn weatherstrip may contact the bill lightly while allowing significant air infiltration under pressure differentials. The test does not quantify compression force.
- Seal material condition: Cracked, hardened, or UV-degraded weatherstrip may pass the bill test while failing to recover shape after compression, creating leakage paths when the door is not being tested.
- Frame squareness: A twisted frame may seal at the test point while gapping at corners or mid-points not tested.
- Threshold seal integrity: The bill test is rarely performed at the threshold, where the most significant air and water infiltration occurs in Lantana’s wind-driven rain conditions.
The Pressure Gauge Alternative
For a numeric reading, use a door seal pressure gauge - a handheld device with a calibrated spring and contact foot that measures compression force in pounds per linear inch. Typical specifications for residential door weatherstrip call for 1.5 to 3.0 PLI (pounds per linear inch) for effective seal without excessive wear. Measure at six points: top left, top center, top right, latch side upper, latch side lower, and threshold center. Record the readings; degradation over time is more informative than any single measurement.
At Sightline, we include seal pressure readings in our measured survey when a homeowner reports draft or moisture concerns. The reading becomes part of the written scope and the documented photo record, establishing baseline performance before any Window Replacement in Lantana or door work begins.
How to Document Warning Signs for Warranty or Insurance Claims
Documentation that supports a future claim must be contemporaneous, verifiable, and specific. Photos alone are rarely sufficient; they need context that establishes date, location, condition, and scale. Here’s the protocol we recommend to Lantana homeowners who may need to file a manufacturer warranty, installer workmanship claim, or insurance documentation. For contractor selection guidance, see How to Hire a Windows & Doors Contractor in Lantana: A Step-by-Step Guide.
- Establish the baseline record. Before any change or repair, photograph the entire opening from inside and outside, wide enough to show surrounding wall and trim. Include a fixed reference point - house number, mailbox, or permanent landscape feature - that establishes location.
- Capture the specific symptom with measurement reference. Place a ruler, coin, or standard-size object (credit card, dollar bill) in the frame for scale. For cracks, photograph perpendicular to the surface to show depth; for gaps, photograph parallel to show extent. Take multiple focal depths - one showing the symptom in context, one filling the frame with the symptom detail.
- Record environmental conditions. Note date, time, outdoor temperature, indoor temperature, relative humidity if available, and recent weather (rain within 48 hours, high wind event, etc.). These factors affect symptom presentation and help distinguish intermittent from persistent failures.
- Preserve metadata. Use a camera or phone with location services enabled, or manually record GPS coordinates. Do not edit or crop the original files; copy and annotate separately. Metadata establishes the photo was taken when claimed, not staged after the fact.
- Create a written log with cross-references. For each photo, write a dated entry describing what is shown, where it is located (room, wall orientation, height from floor), and what measurement or observation it documents. Reference photo file names explicitly: “2024-03-15_1430_bedroom_north_glass_fog_lower_right.jpg shows condensation between panes, approximately 3 inches from bottom right corner, first observed 2024-01-10.”
- Obtain independent verification when possible. A moisture meter reading from a home inspector, or a photo with a contractor present, adds third-party credibility. The Haven Standard requires our technicians to document every visit with dated, geotagged photos that the customer receives; this becomes part of your record if we are involved.
Store the complete record in two locations - cloud and physical - and provide copies to any contractor or adjuster rather than originals. Warranty claims often require documentation within a specific window after discovery; a dated log with photo metadata meets that requirement precisely.
When Warning Signs Cross Into Replacement Territory
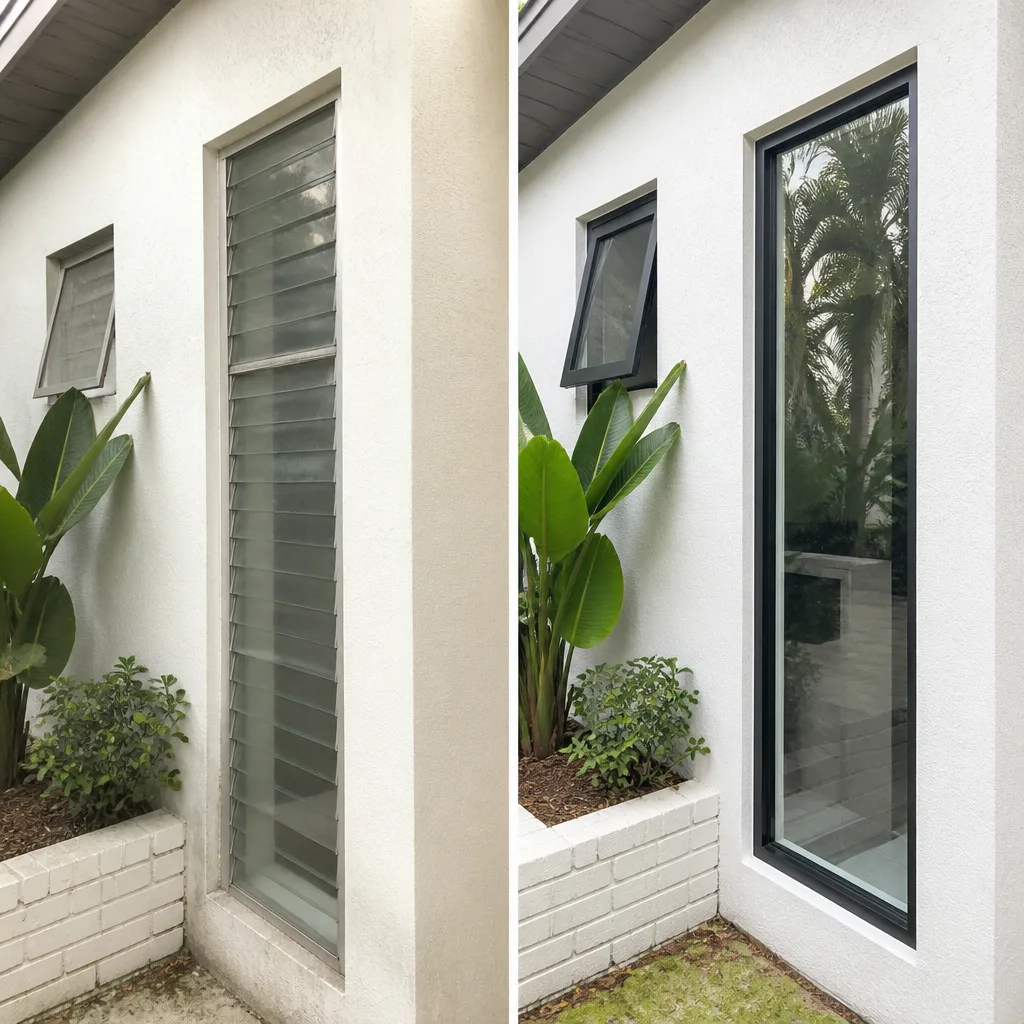
Not every warning sign requires immediate replacement. Some indicate maintenance needs, others repairable component failure, and others systemic degradation that makes replacement the more economical choice. These are the thresholds we apply when evaluating Lantana homes.
Repair-Viable Conditions
Single-point sealant failure with intact substrate, hardware wear with undamaged frame, or weatherstrip degradation on a door or window less than 10 years old typically warrants component repair or replacement. The frame system and glazing remain sound; the fix addresses the failed element.
Replacement-Indicated Conditions
- Multiple seal failures in the same unit: When the IG seal, perimeter sealant, and flashing all show compromise, the unit has reached end of systemic life. Individual repairs will cascade.
- Frame substrate decay: Softened or delaminated frame material cannot be restored to specification; the opening requires reinstallation with proper substrate preparation.
- Non-repairable hardware obsolescence: Some older window and door systems use proprietary hardware no longer manufactured. When the hardware fails and cannot be sourced, the unit must be replaced.
- Energy performance degradation below code: Florida’s energy code has tightened significantly since 2012. Windows with failed low-E coatings, degraded argon fill, or single-pane construction in conditioned spaces may not meet current standards for replacement-in-kind, triggering upgrade requirements.
- Impact rating expiration: Impact-rated products carry Florida Product Approval numbers with expiration dates. An expired approval means the product cannot be legally installed in a new installation or replacement in the same opening if the original permit required impact rating.
In Lantana’s market, we frequently evaluate homes built during the 2004-2007 construction surge, where original windows are approaching 20 years of service. The combination of age, coastal exposure, and pre-2010 energy standards often makes full replacement the lower lifecycle cost option, particularly when Florida Power & Light rebates or financing for energy-efficient upgrades are available.
Our product lines - including ECO Window Systems for value-tier energy efficiency and Mr-Glass for custom impact applications - are specified by what the opening requires, not by what we have in stock. The measured survey documents the existing condition; the written scope specifies the replacement product by performance criteria (U-factor, SHGC, design pressure rating) and the installed price. That price does not change.
Common Mistakes to Avoid
- Assuming fogging is always a glass failure. In Lantana’s humidity, interior surface condensation can mimic between-pane fogging. Wipe the glass; if the moisture is on the surface you can reach, the seal may still be intact and the issue is interior humidity control.
- Applying exterior caulk over failed sealant without removing the old material. New caulk adheres poorly to degraded substrate and traps moisture behind it, accelerating frame decay. Proper remediation requires complete removal, substrate drying, and compatible replacement sealant.
- Ignoring threshold gaps on sliding glass doors. The threshold on a sliding door carries the entire door weight and the water management load. A gap that seems minor can admit gallons of water in a single storm, and the subsill damage is often invisible until the interior flooring shows staining.
- Failing to distinguish product warranty from installation warranty periods. A 20-year glass warranty does not cover installation errors, and a 1-year installation warranty may expire before a latent flashing failure becomes visible. Know which warranty applies to which component.
- Documenting only the visible symptom, not the surrounding conditions. A photo of fogged glass without showing the frame, wall, and exterior grade provides no context for determining cause. Warranty reviewers and adjusters deny claims for insufficient documentation routinely.
- Delaying evaluation until after hurricane season. Lantana’s peak storm risk runs June through November, but the installation backlog after a named storm can extend 6 to 12 months. Pre-season evaluation and scheduled replacement avoids emergency installation premiums and limited product availability.
When to Call a Professional
Call for evaluation when you observe any of the following: condensation between panes that does not wipe clean, visible daylight at door thresholds or window sashes, hardware operation that has changed measurably in the past year, exterior sealant separation exceeding 2 inches at any point, or interior water staining near any opening. These symptoms indicate active failure that will not self-resolve.
Sightline Windows & Doors Lantana offers free estimates in Lantana - call (561) 461-2062. Every estimate includes the measured survey you keep, a written scope with fixed pricing, and documentation of what we found. Our technicians are background-checked, uniformed, and identified by license number before arrival, per Haven Clause 3 (Verified Crews). The 365-Day Done Right Promise applies to every installation, and every completed job leaves a documented photo record.
Frequently Asked Questions
IG unit seal replacement typically runs $180 to $340 per sash for standard sizes, while full frame reinstallation with corrected flashing starts around $800 per opening and varies with size, substrate condition, and finish repair scope. Call (561) 461-2062 for an exact quote - estimates are free, and we provide a written price before any work starts.
No. Haven Clause 1 means the measured survey and the written quote are the same document. If we encounter concealed damage - rot in the subsill, for example - we document it, stop work, and present a revised scope with a new fixed price before proceeding. The original quoted price for the documented scope does not change.
Yes. All replacement work that alters the opening or changes the product rating requires permit and inspection under Palm Beach County building code. We pull permits, schedule inspections, and provide the passed inspection documentation as part of the job record. The permit cost is included in the written quote.
Typical residential replacement of 10 to 15 openings in Lantana completes in 2 to 3 working days, assuming standard sizes and no substrate repair. Custom or geometric units, stucco exterior repair, or structural remediation extends the schedule. We specify the timeline in the written scope and do not commit to schedules we cannot meet.
If the frame system is sound and the failure is isolated to the IG unit, glass-only replacement is appropriate and more economical. If the frame shows decay, the hardware is obsolete, or multiple seal systems have failed, full unit replacement is the durable solution. Our measured survey documents which condition applies to each opening.
Check the Florida Product Approval number on the window label or etched in the glass corner. Enter it at floridabuilding.org to verify the approval is current and the design pressure rating meets Lantana’s wind zone requirement. If the approval has expired or the rating is insufficient, replacement is required for any permitted work. We verify this during our survey and note it in the written scope.
If any aspect of our installation is not done right, we make it right - written into the Haven Standard, not offered as a courtesy. The promise covers workmanship, product function, and documentation accuracy. Claims are handled by the same team that performed the installation, with direct accountability and no third-party warranty administrator.
The Bottom Line
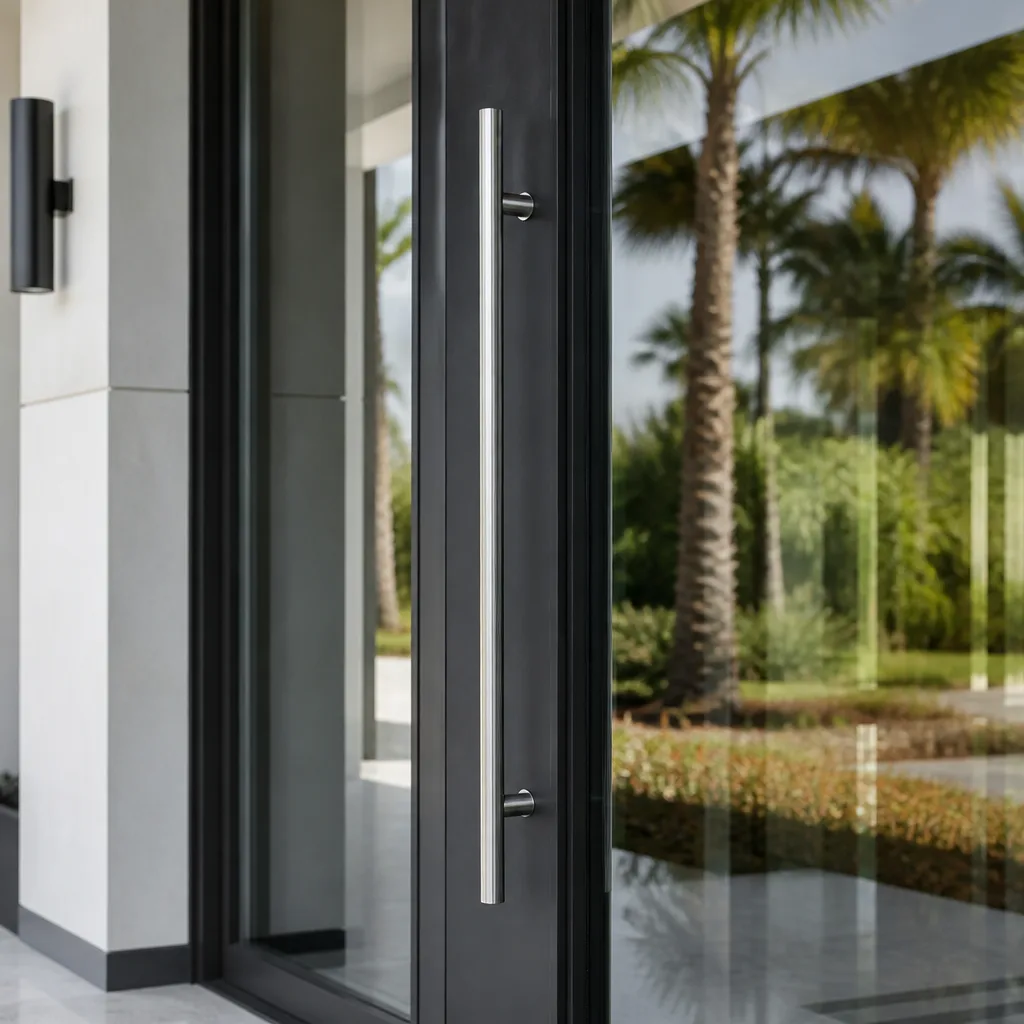
Visible window and door failures in Lantana homes - fogged glass, stuck sashes, leaking thresholds - are late-stage symptoms of problems that began one to three years earlier. The five early indicators (hairline sealant separation, hardware resistance increase, frame-to-wall paint cracks, threshold daylight gaps, and migrating condensation paths) allow homeowners to intervene before replacement becomes the only option. Distinguishing glass unit seal failure from installation flashing seal failure determines the correct remedy and the responsible party. Documentation with dated photos, environmental context, and measurement references supports warranty and insurance claims when they are needed. For any symptom that crosses the repair threshold, or when you need a documented assessment to support a decision, call (561) 461-2062 for a free estimate with written, fixed pricing. Explore more guides & resources on window and door care for Lantana homes.
Written by Sonia Raman, Owner at Sightline Windows & Doors Lantana, serving Lantana since 2012.